Name buttons tutorial: create buttons with names step-by-step
, 2 min reading time
Sommerferien: Urlaubsbedingt ist in der Zeit vom 24.07 bis 31.07.2024 leider kein Versand möglich.
Letzter Versand vor dem Urlaub ist der 23.07.24 nachmittags. Erster Versand nach dem Urlaub ist der 01.08.24 vormittags. Wir bitten um Verständnis!
![]()
, 2 min reading time
In this tutorial you will learn how to create stylish name buttons with the Button Designer in just a few steps. These can be used for wedding buttons, for example, but can also be provided with the names of cities or first names.
Name buttons are mainly used at festive events, workshops, children's birthday parties or wedding celebrations. For this reason, we would like to illustrate the process of creating name buttons step by step in the following blog entry. All you need is some time, some patience and of course... the new button designer!
To start design, please log in a! Registration is quick and easy - enter a username, password and valid email address - and you're good to go!
In five steps to name buttons with our Button Designer
1) Select a suitable button diameter. The following options are available to you: Round Badgematic 25 and 59 mm; Round IBP 25mm, 38mm, 43mm and 55mm; Round Ruck Zuck 30 mm, 56 mm and USA 25 mm and Oval Ruck Zuck 77 x 31.5 mm. However, the button size can always be changed at a later time. Each button name is denoted by an abbreviation. For example, ''b25mm'' means Badgematic 25mm or ''ibp25mm'' - IBP 25mm.
2) After we have decided on the size, a window will appear with the most important settings - text size, font, background color and options to insert an icon from the built-in collection or upload your own image.
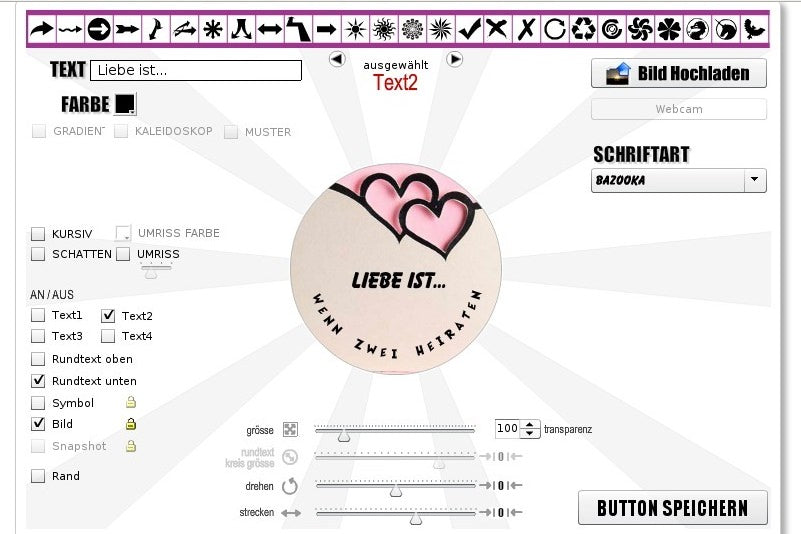
3) Our button can contain up to four inscriptions, as well as circular texts at the top and bottom. Any additional inscription is added by ticking the respective box ''Text 1'', ''Text 2'', ''Text 3'' or ''Text 4''. You can also adjust the text size and position (just drag and drop the text), rotate and/or stretch the letters. The font is determined in a drop-down menu depending on the occasion and the type of event. The circle size of the circular text can also be adjusted.
4) Furthermore, the transparency of each inscription can also be changed. This value is set to 100 by default, but you can move it up or down using the menu arrows. Especially with the wedding buttons, the transparent option is very appropriate. You either upload a photo of the two engaged couples or a picture showing engagement rings, champagne glasses or love arrows. The preferred image depends on the exact application of the buttons. Some couples use them as wedding gifts for their guests, others for table decorations - for example as creative napkin rings.
5) Finally, press the ''Save Button'' menu or ''Download'' button, if you want to download the button design as an image. Don't worry - whether you do this or not, all the buttons you create will be saved directly to your profile.
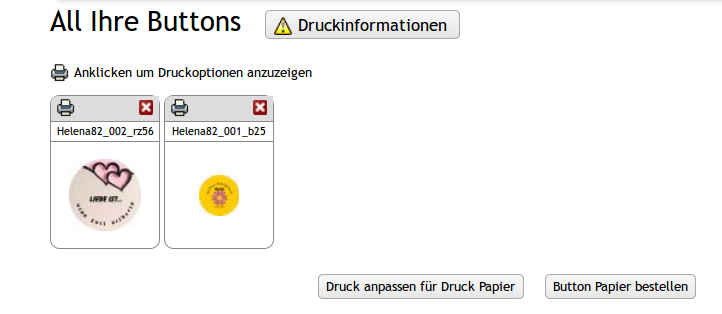
You can therefore call up these again at any time, export them as a PDF file (and thus repeatedly reprint buttons with names) or possibly print them out directly on button paper.
Other useful hints:
At the top, in the middle of the working window, you can see the ''selected'' icon all the time - it shows which button element is currently selected.