Description
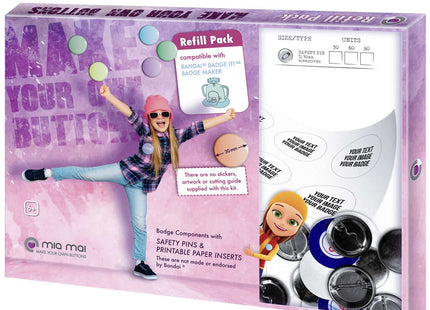
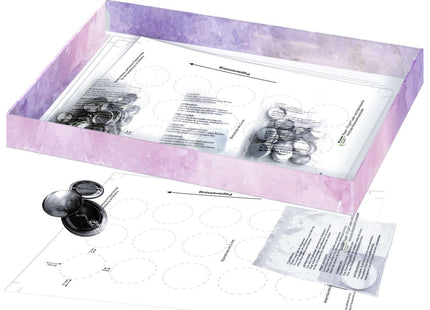
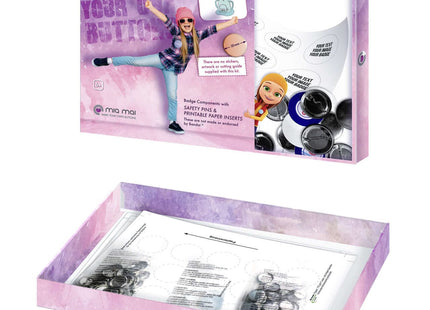
Refill pack consisting of:
- Stylish tops
- Bottoms with inserted safety pin
- Transparent films (Ø 44.5 mm)
- A4 button paper (paper thickness: 170g/m²) with 15 perforated circles per sheet
- Button diameter: 30mm
- Compatible with Badge it! Buttonmaker Button machines from Bandai®
This refill kit is ideal for producing high-quality buttons with a diameter of 30 mm. The prerequisite for this is that you use the Buttonmaker from Bandai®.
Our button parts are custom made and fully compatible with the Badge It! Buttonmaker
These are button blanks complete sets packed in an attractively designed box. Each button set consists of a metal upper part, a metal lower part with an inserted safety pin, transparent film and printable button paper.
Saving labor: The safety pin is already mounted in the back. You can also use our online button designer on
https://designer.mia-mai.com free of charge to print the button paper.
The IT! badge is ideal for home use and for designing small individual buttons. Buttonmaker an alternative to the expensive professional machine! With this "toy" you can gain first experiences. However, the 15 supplied blanks are quickly used up.
We have therefore produced special 30 mm button material in different packaging units for the Badgemaker machine, which is labeled with the Badge It! Badgemaker is fully compatible. The visible area of the buttons is 3 cm. The paper insert has a diameter of 4.5 cm and is wrapped or wrapped around the button by the button maker together with the high-gloss foil. pressed.
The main differences between our refill pack and the original from Bandai® :
| Buttonmaker refill pack from mia mai Buttons |
Original Badge It! Refill |
| The safety pin is already integrated in the back and is "pressed with it", so it sits firmly in the finished button and can be attached much more closely to clothing. |
The pin connects to the button by pushing a plastic connector, on which the pin is mounted, into a hole on the back of the button. If you now consciously or unconsciously pull on the button, it tears off the needle. |
| The safety pin is in a fixed position in the finished button and can no longer be rotated. |
The position of the needle can be adjusted later. But also tends to rotate around the pin attachment. |
| The included button paper with perforated paper circles has a thickness of 170g/m², is suitable for laser and inkjet printers or for painting by hand and is compatible with the online button designer from mia mai Buttons. |
Illustrated template sheets with a thickness of approx. 180g/m² and a template are included. Paper inserts have to be cut out yourself if you want to paint them. |
| Safety pin can be opened easily. |
Needle is not so easy to grab and open. |
Instructions for using the refill pack
| Explained step by step. |
 |
Print your own button designs or hand draw your artwork on blank A4 paper sheets with micro-perforated inserts. Release the inserts by tearing the perforation line with your fingers. |
 |
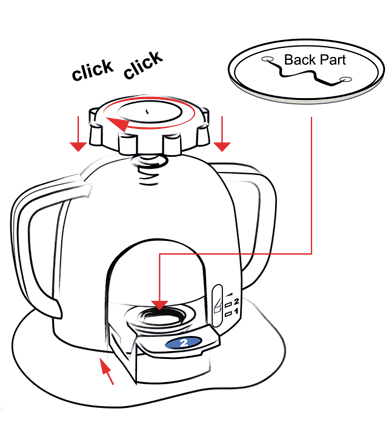
Take the front shell of a button and place it in drawer number 1, flat side up. Place your paper insert on top and cover that with the plastic wrap (Mylar). Push the drawer in, hold the machine and turn the knob clockwise until you hear a loud click and the indicator reaches position 1.
Then turn the knob counter-clockwise until the display reaches the start position. The button is now out of sight in the badge maker. |
 |
Put the button up, pin down, back in drawer number 2 and repeat the rotation to display position 2. |
 |
Finally, rotate counter-clockwise to the start position, pull out the drawer and your button is ready for you! |


